This article describes the process, how to add a student to a course. You need to have an Excel list to perform this task. Notice the difference between routines for SSO/no SSO
Attached at the bottom, an sample Excel file for student import
TABLE OF CONTENTS
- Navigate to the course
- Excel file columns
- Browse Excel file
- Link Excel columns without SSO
- Link Excel columns with SSO
- Import student list with groups
- Sample Excel file (attached)
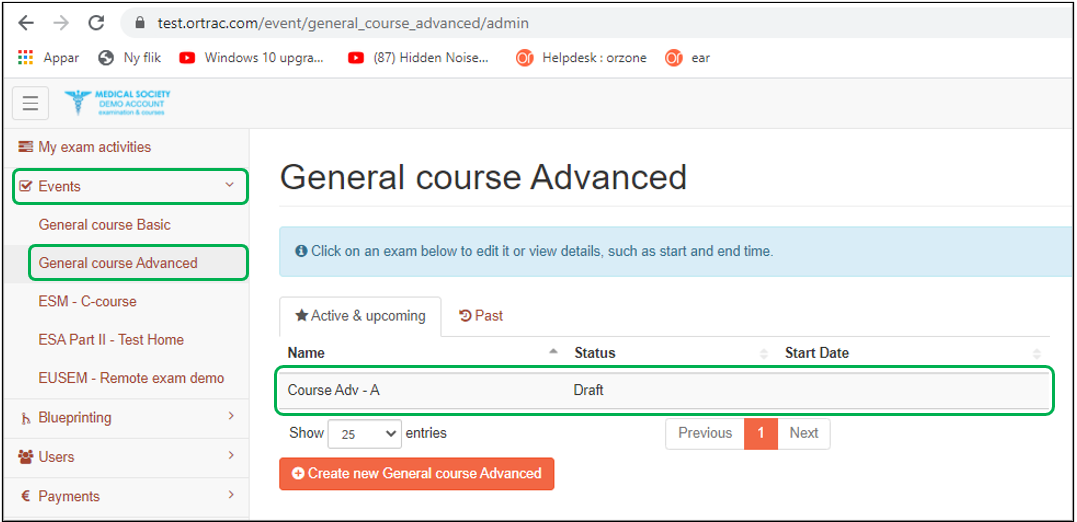
Navigate to the course
- Open Courses menu
- Select a <course>
- Click at the <course occasion> in the list
- Click at the Students tab inside the course occasion
- Click at the drop down menu Add students & select Import from Excel/CVS
Excel file columns

Browse Excel file
- Import list of students (browse for Excel file)

Link Excel columns without SSO
- Import list of students (link columns/import)
- Link the columns to the correct type (first name, last name, e-mail)
- First Row is a header: click the Yes skip the first row, button if header in Excel file
- E-mail users: click the Yes button if you want to send an invitation e-mail with login details to the imported users
- Press Perform Import button
Link Excel columns with SSO
- Import list of students (link columns/import)
- Link the columns to the correct type (list need to contains, First name, Last name, E-mail & UPN in four separate columns). Note: the e-mail and the UPN can sometimes differ
- First Row is a header: click the Yes skip the first row, button if header in Excel file
- E-mail users: click the Yes button if you want to send an invitation e-mail with login details to the imported users
- Press Perform Import button

Import student list with groups
Sample Excel file (attached)
Select the correct file, depending on SSO login or no SSO login